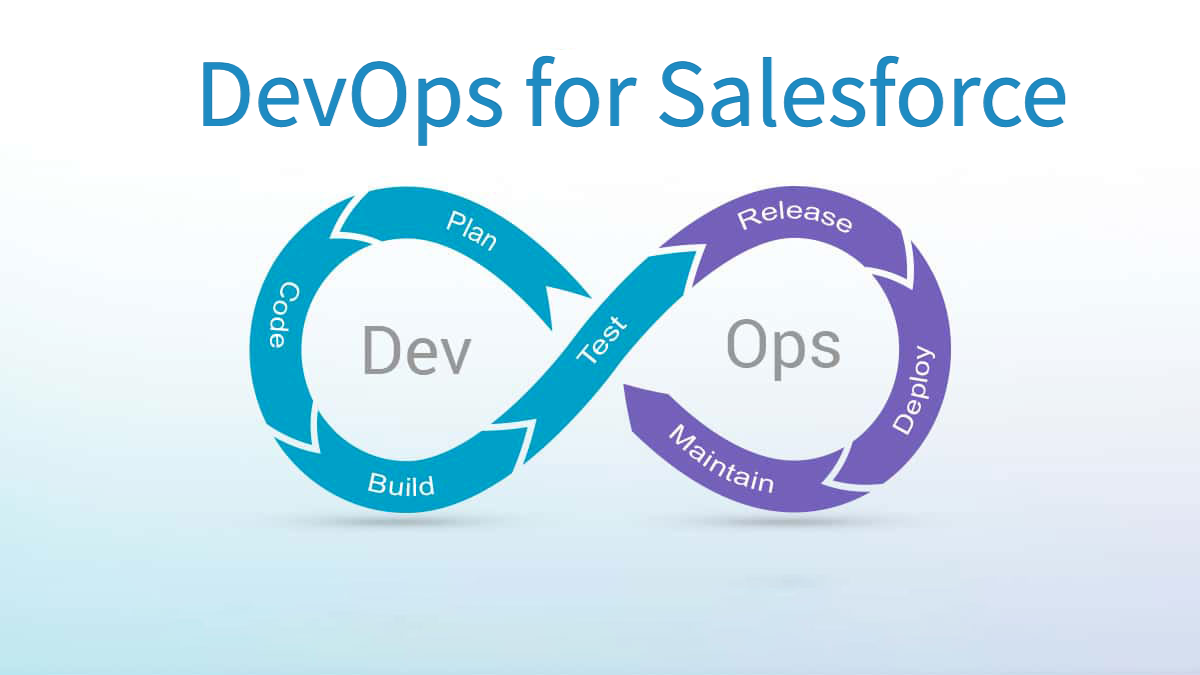
Getting started with Salesforce DevOps Center involves a series of steps to set up your development environment, establish version control, automate your deployment processes, and integrate testing and monitoring. Here's a complete guide to help you get started:
1. DevOps for Salesforce:
Learn about DevOps and its role in Salesforce development. Understand how DevOps promotes teamwork, automates processes, and connects development and operations for faster and better software delivery.
2. Salesforce Developer Account:
If you don’t have one, create a Salesforce Developer Account. This account gives you a safe space to build and experiment with your Salesforce applications.
3. Version Control System Selection:
Use a version control system like Git to track changes in Salesforce metadata and code. Hosting services for your repositories are provided by platforms like GitHub, Bitbucket, and GitLab.
4. Salesforce DX Setup:
Install the Salesforce CLI (Command Line Interface) on your local computer. Salesforce DX offers tools and features for developing Salesforce applications.
5. Creating a Salesforce DX Project:
Use Salesforce CLI to create a new Salesforce DX project. This project will serve as your workspace for developing and managing Salesforce applications.
6. Version Control Integration:
Initialize a Git repository within your Salesforce DX project directory. Add your Salesforce metadata and source code to the repository and commit the changes.
7. Continuous Integration (CI) Setup:
Choose a CI/CD (Continuous Integration/Continuous Deployment) platform such as Jenkins, CircleCI, or Travis CI. Configure your CI pipeline to pull the code from your Git repository, run automated tests, and perform static code analysis.
8. Automating Deployments:
Use Salesforce CLI commands or tools like Salesforce DX to automate deployments to your Salesforce orgs. Create scripts or configure your CI pipeline to deploy changes to sandbox or production environments automatically.
9. Implementing Testing:
Develop and execute unit tests, integration tests, and regression tests for your Salesforce applications. Integrate testing frameworks like Apex Unit Tests and Selenium for UI testing into your development workflow.
10. Monitoring and Feedback:
Implement monitoring solutions to track the performance and health of your Salesforce applications in real-time. Use tools like Salesforce Event Monitoring, Salesforce Shield, or third-party monitoring platforms to gain insights into user behaviour, system performance, and security.
11. Continuous Improvement:
Regularly review and optimize your DevOps processes. Gather feedback from stakeholders, monitor key metrics, and identify areas for improvement in your development, testing, and deployment workflows.
12. Documentation and Knowledge Sharing:
Document your DevOps practices, configurations, and processes to onboard new team members and ensure consistency across projects. Share knowledge and best practices within your organization to foster collaboration and continuous learning.
Summary
By following these steps and best practices, you can establish an effective Salesforce DevOps Center to streamline your development lifecycle, improve collaboration, and deliver high-quality Salesforce applications more efficiently.
For more updates about the salesforce, visit us at www.thesalesforcemaster.com

